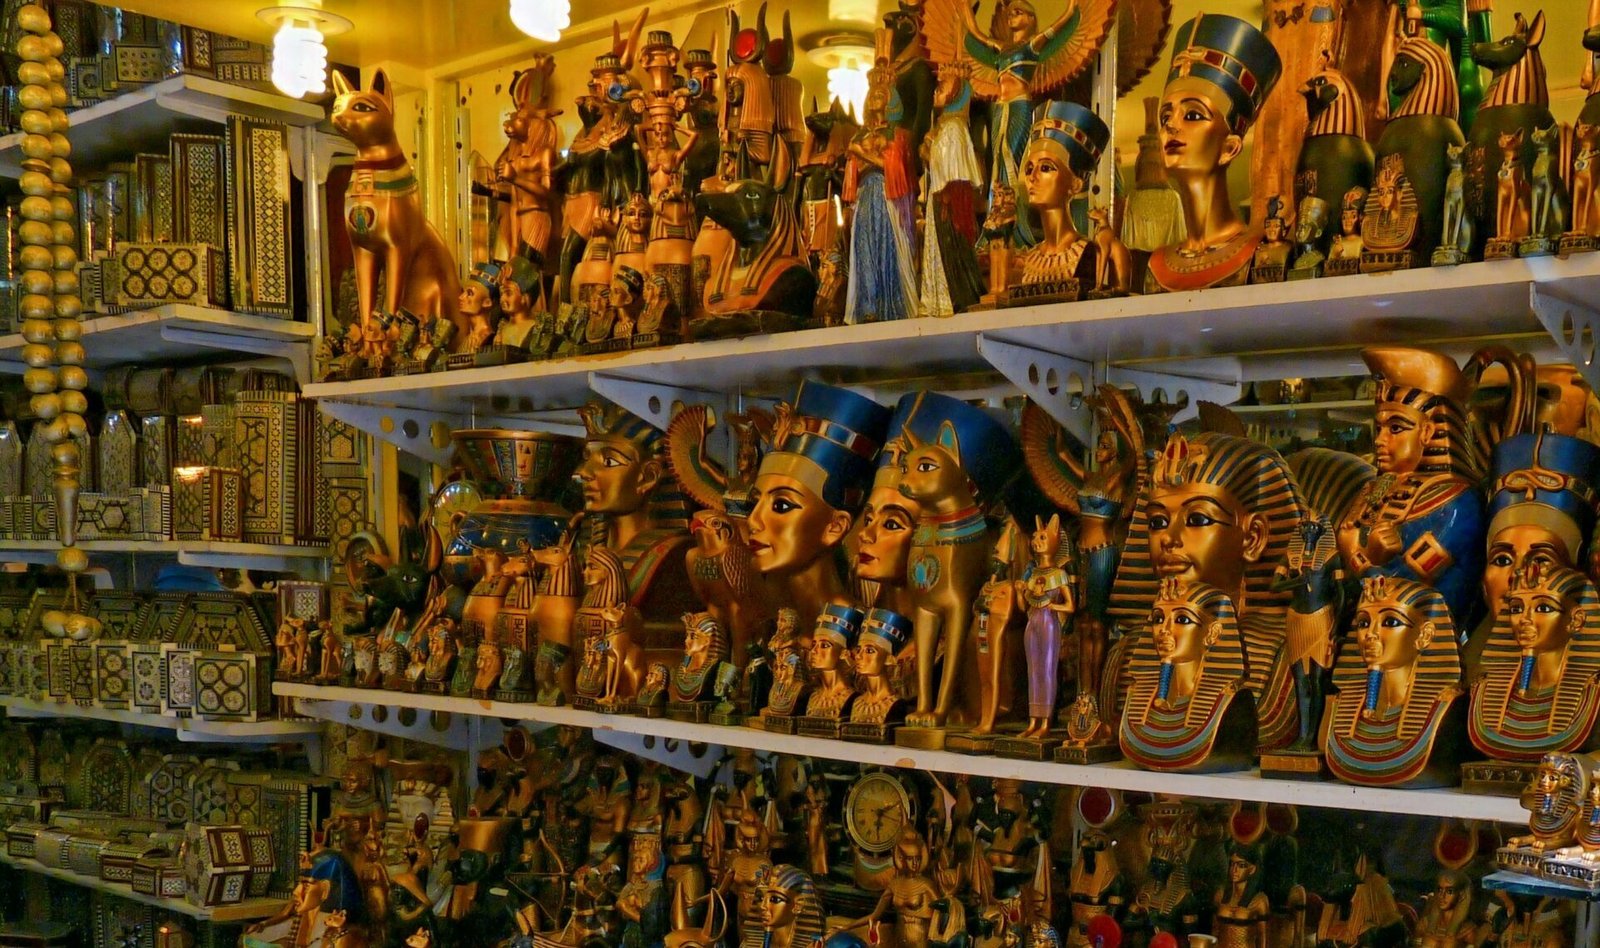
Introduction to Ancient Egypt
Ancient Egypt is one of the most remarkable civilizations in human history, known for its extraordinary contributions to culture, architecture, and governance. Flourishing along the banks of the Nile River for thousands of years, it left an indelible mark on the world with its profound innovations and artistic expressions. The significance of Ancient Egypt extends beyond its well-known pyramids and majestic temples; it embodies a rich narrative of evolution in arts, science, and religion that continues to captivate modern audiences.
The civilization reached its zenith during the time of the pharaohs, who were revered as divine leaders responsible for the welfare of their people and the favor of the gods. These rulers commissioned monumental architecture, including the iconic pyramids of Giza, which serve as eternal resting places for the elite and symbols of their power and authority. The meticulous design and engineering of these structures reflect not only the grandeur of the period but also the advanced understanding of mathematics and astronomy that the ancient Egyptians possessed.
Another key feature of Ancient Egypt is its unique writing system, known as hieroglyphs. This intricate script, which combines logographic and alphabetic elements, was used primarily for religious texts, monumental inscriptions, and administrative records. The Rosetta Stone, discovered in 1799, became instrumental in deciphering these hieroglyphs and provided insight into the language and culture of Ancient Egypt. Through its art and writing, this civilization documented their beliefs, achievements, and daily life in ways that have fascinated scholars and enthusiasts alike.
The diverse elements of Ancient Egyptian culture—from their elaborate burial practices to their pantheon of gods—offer rich material for exploration. Engaging in DIY projects related to this civilization allows individuals to immerse themselves in its intricate heritage, unlocking a deeper appreciation for the past while promoting creative learning.
Materials Needed for DIY Projects
When embarking on fun DIY projects to learn about Ancient Egypt, it is essential to gather all necessary materials before beginning your creative journey. This will facilitate a smoother crafting experience and allow for better focus on the artistic elements. Below is a comprehensive list of materials needed for various DIY projects focused on Ancient Egyptian themes.
First and foremost, consider the basic craft supplies. These typically include construction paper or cardstock in various colors to create hieroglyphics and colorful artifacts representative of the era. Scissors are vital for shaping and cutting materials, while glue or a glue stick will be necessary for sticking various components together. A ruler can assist in measuring dimensions accurately, ensuring your projects are well-proportioned.
Next, you’ll need specific materials for painting and decorating. Acrylic paints in shades reminiscent of Ancient Egypt, such as gold, turquoise, and earth tones, will help bring your projects to life. Paintbrushes in different sizes will allow for detail work on smaller artifacts or larger canvas pieces. Additionally, fine-tipped markers can be invaluable for adding intricate designs and hieroglyphics to your creations.
For projects that may require three-dimensional elements, items such as clay or air-dry modeling materials are recommended. These can be sculpted into statues or replicas of famous Egyptian artifacts. Craft foam or model magic can also be explored for diverse textures and finishes.
Finally, be prepared to use some natural elements such as sand or small stones. These can serve as base materials or decorative elements that authentically represent the Egyptian landscape. With this complete list of materials, you are now equipped to dive into your exploration of Ancient Egypt through engaging DIY projects.
Creating a Mini Pyramid
Constructing a mini pyramid is an engaging DIY project that serves not only as an artistic endeavor but also as an educational exploration into the architectural ingenuity of ancient Egypt. This project provides a hands-on experience to understand the significance of pyramids in ancient burial practices, alongside the engineering principles involved in their construction.
To start, gather the necessary materials: cardboard or thick paper, a ruler, scissors, a pencil, and glue. If you wish to enhance the aesthetic appeal, consider using gold paint or decorative paper to replicate the look of the exterior surface of the pyramids. The iconic pyramidal shape can be achieved by first drawing a square base on the cardboard, with each side measuring 10 inches. Using the ruler, establish a triangle for the pyramid’s sides, ensuring that the height is 8 inches, creating a perfect balance between scale and realism.
Once you have your shapes outlined, carefully cut them out, ensuring precision to maintain uniformity. For the base, you will require four triangular sides to complete the pyramid’s structure. When you have all your pieces ready, begin assembling the pyramid. Take each triangular piece and attach it to the edges of the square base using glue. Allow them to dry adequately to ensure stability. After connecting all sides, the pyramid can be secured further with tape for increased durability.
Incorporate details by painting the structure or applying decorative materials, perhaps adding hieroglyphs or additional elements that showcase ancient Egyptian artistry. This project not only results in a striking model but also fosters a deeper understanding of the complexities behind pyramid construction and its vital role in ancient Egyptian culture. Through creating a mini pyramid, participants can appreciate the historical and architectural significance of these monumental structures.
Design Your Own Hieroglyphics
The intricate world of hieroglyphics served as a cornerstone of communication in ancient Egypt, encapsulating the culture, religion, and daily life of this remarkable civilization. These pictorial symbols provided a means to convey ideas, record historical events, and express spiritual beliefs. Hieroglyphs, which date back to around 3100 BCE, comprise hundreds of symbols, each representing sounds, words, or concepts. Understanding their history enriches our appreciation for the complexity of Ancient Egyptian language and art.
To embark on designing your own hieroglyphics, first familiarize yourself with some common symbols and their meanings. The ankh, a symbol resembling a cross with a loop, represents life, while the scarab beetle is a powerful symbol of transformation and rebirth. By researching various hieroglyphs, you can choose symbols that align with your personal expressions or messages you wish to convey.
Once you have selected the symbols, you can create your own designs on paper or with clay. Begin by sketching out your chosen symbols in pencil on a sheet of paper. This allows for easy revisions and arrangements. Experiment with sizes and placements until you achieve a harmonious design. For those preferring a more tactile approach, clay can be molded to form individual hieroglyphic shapes. Once the clay has been shaped, you can allow it to dry and later paint your creations to bring them to life.
Consider creating complete phrases or sentences using your designed hieroglyphics, mimicking the writing style of ancient scribes. Encourage creativity by integrating personal themes or contemporary messages, offering a modern twist to this ancient form of expression. Engaging in this artistic endeavor not only fosters creativity but also cultivates a deeper connection with the fascinating world of ancient Egypt and its writing system.
Making Canopic Jars
Canopic jars have long held a prominent place in Ancient Egyptian funerary practices, serving as vital vessels for preserving the internal organs of the deceased during the mummification process. Each jar was associated with one of the four sons of Horus, who were tasked with protecting the organs: Imsety (human), Hapy (baboon), Duamutef (jackal), and Qebehsenuef (falcon). These jars not only had practical uses in the preservation of the body but also bore significant religious symbolism, linking the deceased to the afterlife. Understanding their importance can enrich one’s appreciation of Ancient Egyptian culture.
Creating your own canopic jar can be an engaging way to delve into this ancient tradition. To begin, gather materials such as air-dry clay, acrylic paints, and a sealant. Start by molding the clay into the shape of a jar, ensuring you leave space for a lid. The jars can be created in various sizes, depending on personal preference. To replicate the authentic styles of Ancient Egypt, consider sculpting the lids to resemble the heads of the sons of Horus, reflecting their protective roles over the contained organs.
Once the basic shapes are established, it is time to paint and decorate the jars. Use vibrant colors, as Ancient Egyptians favored shades of turquoise, gold, and black, often associated with life and protection. Incorporating hieroglyphics or symbolic motifs can further enhance your project’s authenticity, representing specific wishes for the deceased’s journey in the afterlife. After the paint has dried, applying a sealant will provide durability, allowing the jars to be displayed with pride.
Engaging in this DIY project not only allows individuals to learn about the cultural and religious significance of canopic jars but also fosters a deeper connection with Ancient Egyptian history. Through crafting these jars, participants can explore the intricate beliefs surrounding death and the afterlife, enriching their understanding of this fascinating civilization.
Crafting Ancient Egyptian Jewelry
Creating jewelry inspired by Ancient Egyptian designs allows enthusiasts to delve into the rich artistic heritage of this ancient civilization while exploring their own creativity. Ancient Egyptians adorned themselves with ornate jewelry featuring symbols such as scarabs, ankhs, and lotus flowers, each carrying significant meanings. By recreating these historical styles, one can gain a deeper appreciation for the craftsmanship prevalent in Ancient Egyptian adornments.
To begin crafting your jewelry, the first step involves selecting appropriate materials. Beads made from clay, stone, or glass can serve as excellent bases for your pieces, mirroring the materials used by ancient artisans. Additionally, consider using metal wire for necklaces or bracelets, as this not only adds an authentic touch but also allows for versatile design options. If you’re inclined toward a more elaborate approach, explore the use of gold or gold-plated materials to emulate the luxury that ancient Egyptians enjoyed.
Once you have gathered your materials, it is time to start designing. Focus on incorporating symbols that resonate with you. For instance, the scarab beetle represents protection and rebirth, while the ankh symbolizes life. Consider creating a necklace or bracelet that features a central pendant shaped like one of these iconic symbols surrounded by complementary beads. By combining different colors and textures, you can create a visually appealing piece that honors the aesthetics of Ancient Egyptian jewelry.
To assemble your jewelry, use basic jewelry-making techniques such as stringing beads, using jump rings, and closing clasps. As you craft each piece, think about the significance of the symbols you are working with and how they relate to the broader context of Ancient Egyptian culture. This approach not only enhances the creative experience but also enriches your understanding of the historical meanings behind these beautiful adornments.
Creating an Egyptian Obelisk
The construction of an Egyptian obelisk model offers a unique opportunity to explore the cultural and historical significance of these iconic structures. Obelisks originated in ancient Egypt, primarily erected to honor the pharaohs and commemorate their achievements. These towering monuments symbolize the rays of the sun, often associated with the sun god Ra, and were considered a bridge between the heavens and earth. By creating a small obelisk model, participants can gain insight into the artistry and engineering that went into their original designs.
To commence the project, gather materials such as cardboard or a wooden block, a ruler, a pencil, and paint for decoration. Begin by measuring and cutting the base of the obelisk. A rectangular shape for the base, proportionate to the height of the obelisk, serves as a sturdy foundation. Next, shape the obelisk by cutting a tall, tapering piece that adheres to the traditional four-sided design. This step mimics the original craftsmanship that characterized these ancient monuments, which were often quarried from hard stone and meticulously carved.
Once the obelisk has been shaped and assembled, decorating the surface is essential for capturing the essence of these ornate structures. Applying a layer of primer followed by golden paint can evoke the polished appearance seen in historical obelisks. Additionally, using hieroglyphics or symbols relevant to ancient Egyptian culture painted onto the obelisk’s face will enhance it further. Identifying significant inscriptions associated with the pharaoh the obelisk represents allows participants to engage meaningfully with the history behind their creation.
This DIY project is not only an enriching educational experience but also provides an avenue for creative expression, deepening the understanding of ancient Egyptian monuments and their lasting legacy in world history.
Building a Sphinx Model
The Great Sphinx of Giza, an iconic symbol of Ancient Egypt, stands as a testament to the architectural and artistic skills of the civilization that created it. Constructed during the reign of Pharaoh Khafre around 2500 BCE, this magnificent statue, with a lion’s body and a human head, serves not only as a guardian of the Giza plateau but also represents wisdom and strength in Ancient Egyptian culture. Building a model of the Sphinx provides an engaging opportunity to explore this rich history while developing crafting skills.
To begin creating your Sphinx model, gather materials such as cardboard, clay, or even recycled plastics, which can mimic the texture and stability of stone. If you prefer a lighter option, use foam for an easily manageable build. Start by sketching the Sphinx’s silhouette on your base material. For accurate representation, refer to images of the original structure to capture its distinct features, such as the prominent headdress and the serene facial expressions that have intrigued historians.
Once the base is ready, sculpt out the body and head from your chosen medium. If using clay, take your time to shape the facial details and paws, making sure to maintain the proportions as seen in photographs of the original Sphinx. After construction, allow your model to dry if using a drying medium, or secure the pieces together firmly.
Painting adds a special touch to your Sphinx. Use sandy hues to replicate the ancient limestone, and consider highlighting details with darker shades to enhance the three-dimensional effect. Finally, display your work proudly in a shared space to invite conversations about Ancient Egyptian culture and art. Engaging in this creative project not only enhances knowledge about the Great Sphinx but also ignites an appreciation for historical artifacts that have left a lasting legacy.
Conclusion and Further Resources
In this blog post, we have explored an array of engaging DIY projects designed to enhance understanding of ancient Egyptian civilization. Each project serves as a tangible learning experience, allowing participants to immerse themselves in the diverse aspects of ancient Egypt, from creating miniature pyramids to crafting hieroglyphics. These activities not only promote hands-on learning but also stimulate curiosity about historical contexts, artistic expressions, and the daily lives of those who inhabited this remarkable realm.
Beyond these DIY projects, individuals keen on expanding their knowledge of ancient Egypt can take advantage of various resources. A highly recommended starting point is the book “The Complete Gods and Goddesses of Ancient Egypt” by Richard H. Wilkinson, which offers an insightful exploration into the pantheon of Egyptian deities. Additionally, “The Complete Ancient Egypt” by Mark Lehner provides a comprehensive overview of the civilization’s history, architecture, and culture, making it an invaluable resource for any history enthusiast.
For visual learners, documentaries serve as an excellent method to engage with the subject matter. Programs such as “Secrets of the Saqqara Tomb” available on streaming platforms delve into archaeological wonders and breathtaking discoveries related to ancient Egypt, giving viewers an in-depth look into recent findings and insights. Numerous websites and online courses, such as those offered by the British Museum or the Egypt Exploration Society, further facilitate exploration through interactive experiences and educational materials.
By combining the hands-on approach afforded by DIY projects with these resources, learners of all ages can develop a richer understanding of ancient Egypt. Through continuous exploration, individuals are empowered to connect with the past in meaningful ways, ensuring that the legacy of this ancient civilization endures in modern times.